
Last updated November 22, 2026
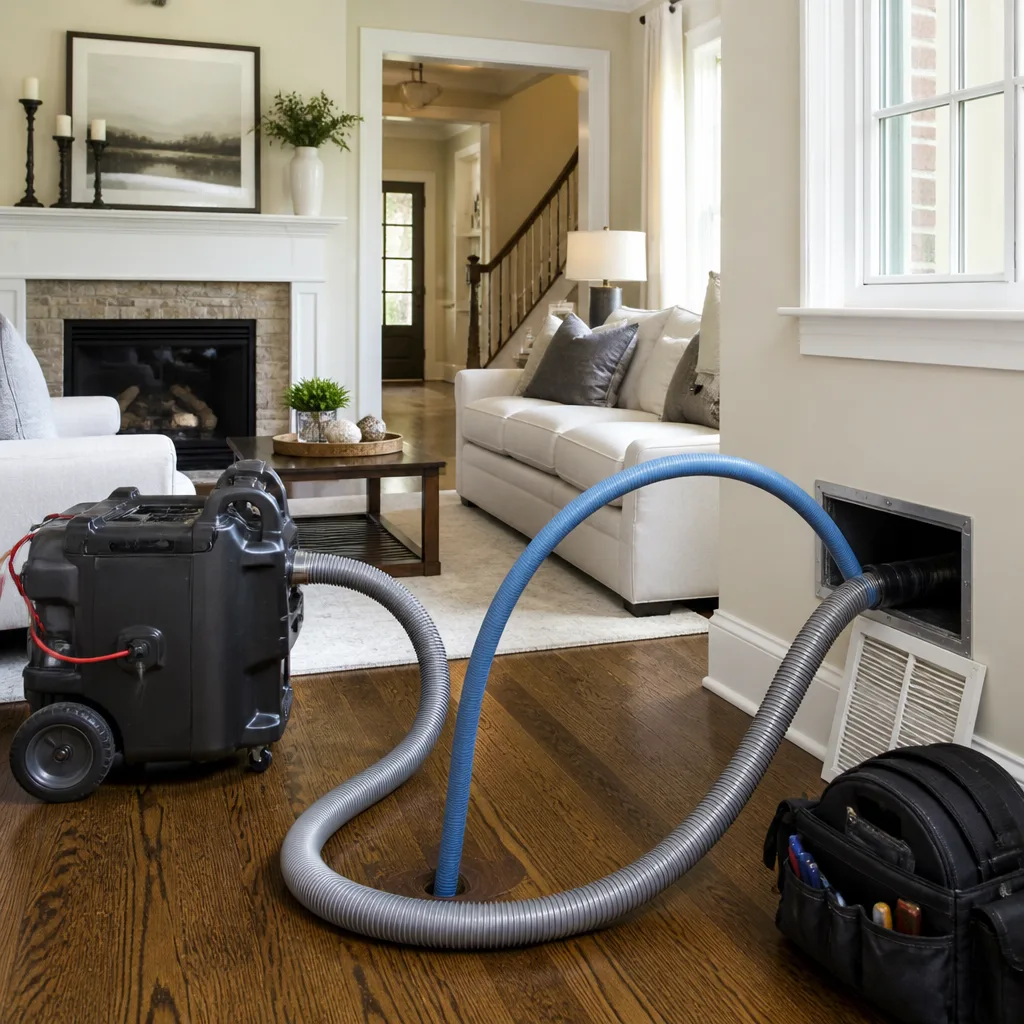 Whole-home duct cleaning
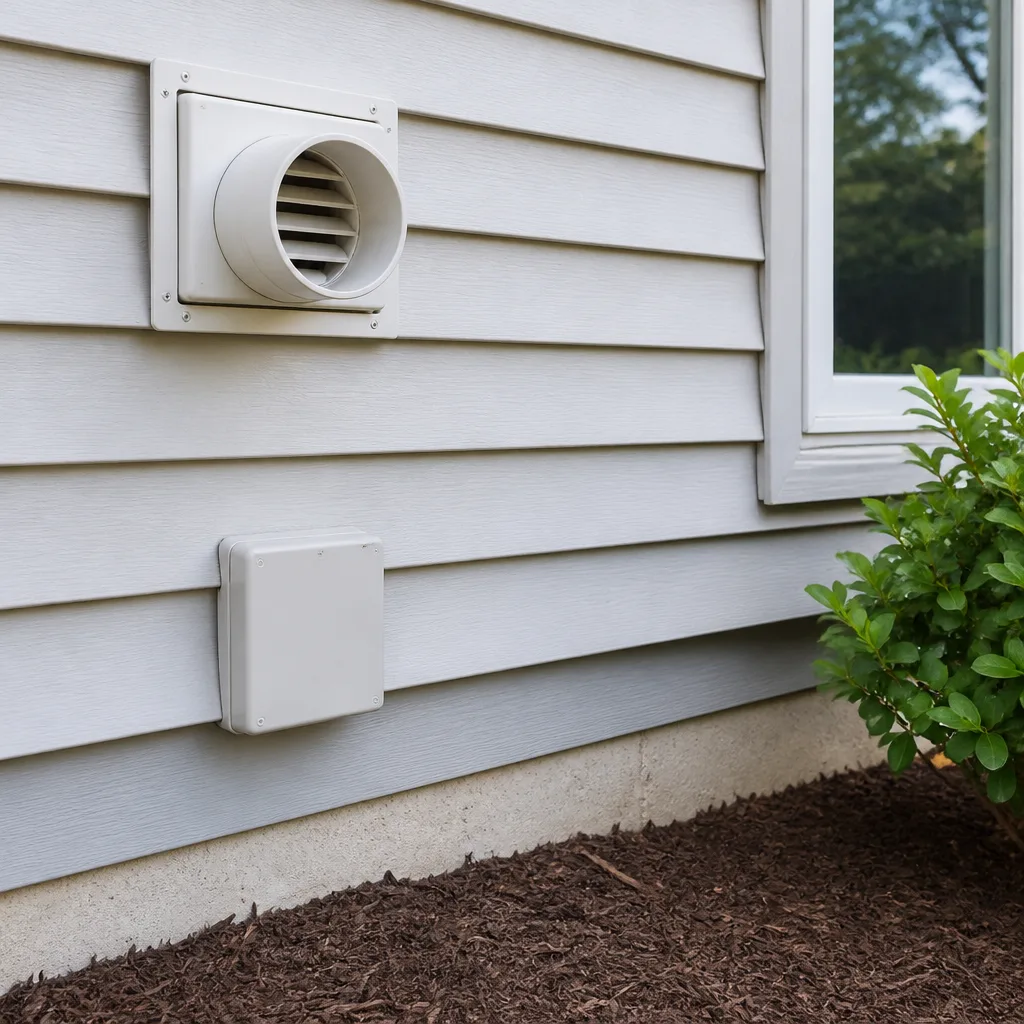 Dryer vent cleaning
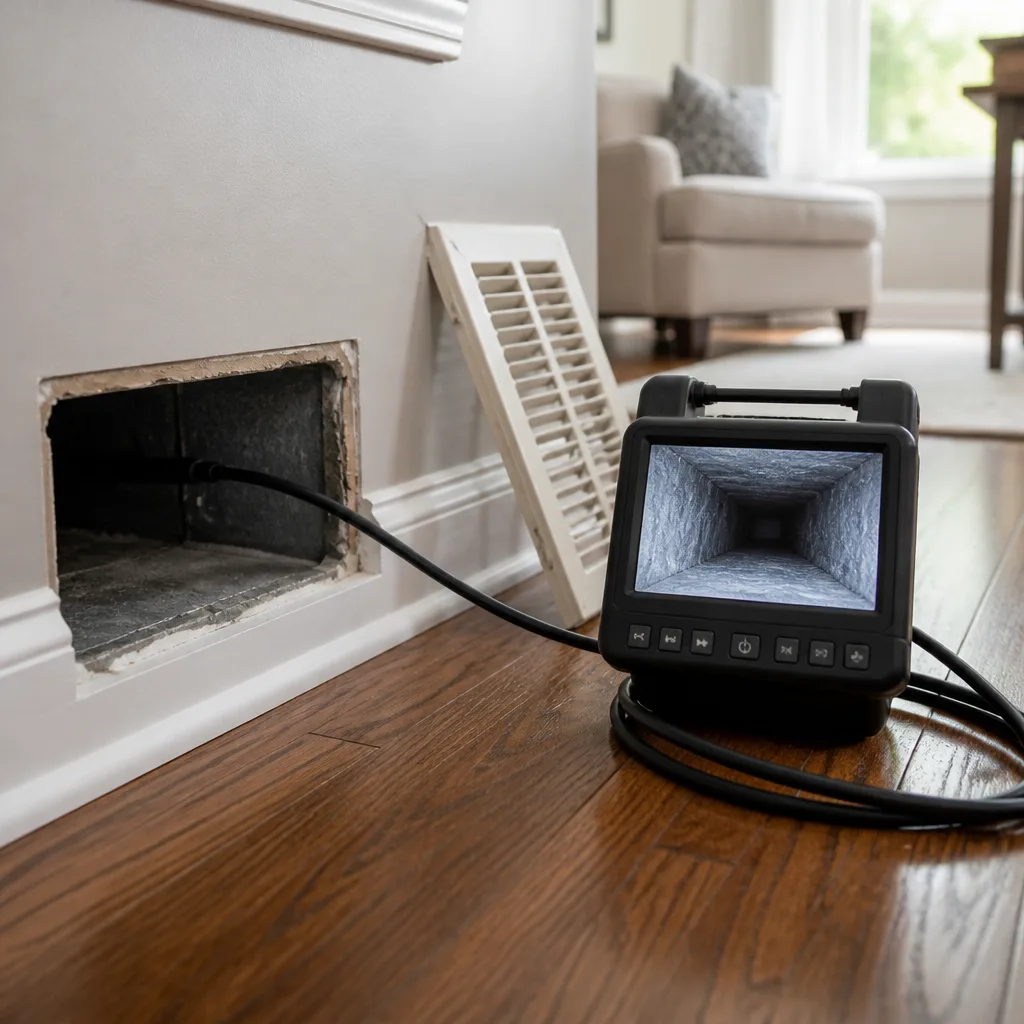 Camera inspection
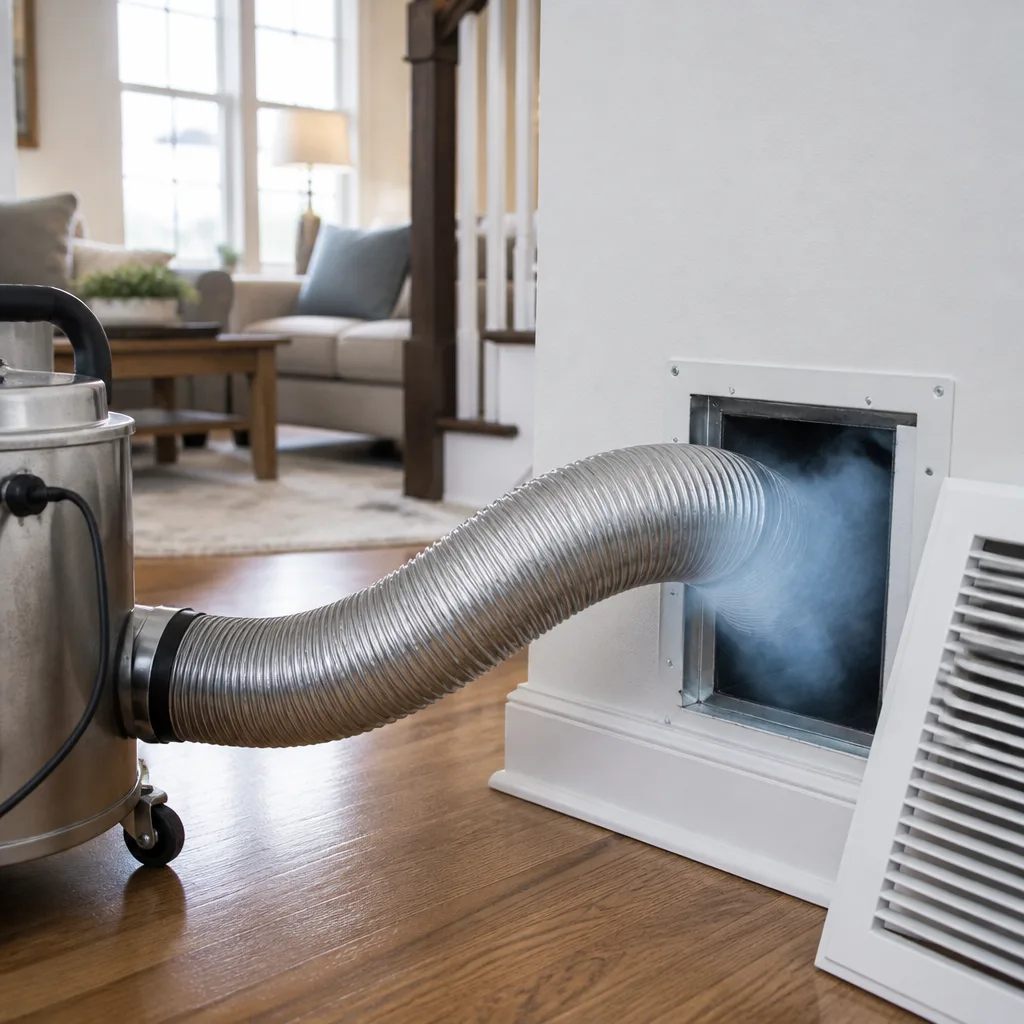 Sanitizing & deodorizing
Whole-system duct and dryer vent check with before-and-after photos - you see exactly what came out of your vents
That "$99 whole-house special" is a bait ad - the real number appears once they are in your hallway, or the "clean" is a shop-vac at the register. We photograph the inside of your ducts before and after instead.
Air Duct Cleaning Maintenance Checklist for Long Island City Homeowners
Changing your filter every 90 days is the advice printed on every checklist in the country. In a Long Island City apartment near the Queens-Midtown Tunnel, that interval is often too long. Urban particulate load, building-wide air systems, and the way LIC’s housing stock mixes old industrial conversions with new glass towers all push duct contamination faster than the generic calendar assumes. This guide is a working document, not a list of reminders you already know. You’ll get a month-by-month task schedule calibrated to Long Island City, a MERV rating guide that accounts for your building type, self-inspection checkpoints with pass/fail criteria, and a logging method that gives you documented duct history before you sell or rent. We’ll also show you exactly where a homeowner task ends and a professional one begins.
Quick Answer
A workable air duct maintenance checklist for a Long Island City home combines four things: filter changes on a 45-to-90-day cycle depending on building type, a visual inspection of vents and registers every season, professional cleaning every three to five years for most LIC units, and a written log of what you found and when. The single biggest factor is whether your unit shares air with the rest of the building. Shared-air co-op and condo systems need tighter intervals than a detached home, and a MERV rating that works in a standalone house can strain a building-wide air handler.
Styles & brands we work with
- Whole-home duct cleaning
- Dryer vent cleaning
- Camera inspection
- Sanitizing & deodorizing
Table of Contents
- Why Long Island City Ducts Age Differently
- The Month-by-Month Checklist
- Filter MERV Ratings by Building Type
- Visual Inspection Checkpoints You Can Do Yourself
- How to Log Duct Condition Over Time
- When a Task Crosses Into Professional Territory
- Matching the Service to the System
- Common Mistakes to Avoid
Why Long Island City Ducts Age Differently
Long Island City is not a uniform neighborhood. Walk from a converted warehouse near Vernon Boulevard to a new high-rise on Center Boulevard and you’ve crossed two different air-quality environments in ten minutes. That matters for a maintenance checklist because the right interval depends on which one you live in.
The first factor is building age and construction type. Older industrial conversions around Hunters Point and the Queens Plaza corridor often retain original duct runs, sometimes with flexible connections and joints that have loosened over time. Newer towers tend to have tighter ductwork but more complex shared systems, with air handlers serving multiple units. Both create contamination pathways, but they fail differently. Older ducts leak; newer shared systems distribute whatever one unit introduces into the common air stream.
The second factor is outdoor particulate. Long Island City sits at the convergence of major roadways, including the Queens-Midtown Tunnel approach, the Pulaski Bridge corridor, and the Long Island Expressway feeder routes. Road dust, brake particulate, and construction debris from the ongoing development in Court Square and Dutch Kills all enter through intakes and open windows. A unit on a lower floor facing a major arterial loads its filter faster than a high-floor unit facing away from traffic.
The third factor is seasonal HVAC transition. Long Island City summers are humid, and the transition from heating to cooling season is when condensation forms inside ductwork and cooling coils. That moisture, combined with dust already sitting in the ducts, is where musty odors start. The fall transition back to heating dries the system out, but it also mobilizes whatever settled during the summer. Your checklist should treat both transition points as inspection moments, not just filter changes.
If you take one thing from this section, make it this: your maintenance interval is not a national average. It’s determined by your building type, your floor and exposure, and the seasonal swing in Long Island City’s humidity. The month-by-month schedule below accounts for all three.
The Month-by-Month Checklist
This schedule is built around Long Island City’s seasonal HVAC transition points and the reality of urban particulate load. Adjust the filter interval based on your building type (see the MERV section below), but keep the inspection and logging tasks on the calendar as written.
January through March
- Month 1 (January): Change or clean the filter. Check the return register for visible dust buildup around the grille. Note the date in your log.
- Month 2 (February): Remove one supply register cover and look inside with a flashlight. Pass/fail criteria are in the inspection section below. Log what you see.
- Month 3 (March): Filter change. This is the tail end of heating season, so also check for condensation or moisture near the air handler and any musty smell at the registers.
April through June
- Month 4 (April): The spring transition. Filter change, plus a full walkthrough of every register in the unit. This is when winter dust becomes airborne as the system switches to cooling.
- Month 5 (May): Inspect the outdoor intake or fresh-air vent if your building has one. Clear any debris. Check that the dryer vent flap opens and closes freely (more on dryer vents below).
- Month 6 (June): Filter change. Note whether the filter looks darker or more loaded than in winter. If it does, your interval is too long and you should shorten it going forward.
July through September
- Month 7 (July): Peak cooling season. Check for condensation drip near the air handler and any water staining on ceiling or wall near duct runs. Log it.
- Month 8 (August): Filter change mid-cycle if you’re on a 45-day interval for a shared-air building. Inspect registers for visible mold or dark spotting.
- Month 9 (September): End-of-summer inspection. This is the moment to decide whether the fall professional cleaning is due based on your log and the pass/fail criteria below.
October through December
- Month 10 (October): Fall transition. Filter change and full register walkthrough. The system is switching back to heating, and settled dust will mobilize.
- Month 11 (November): Check the air handler area for dust accumulation on and around the unit. Vacuum accessible surfaces only. Do not open the unit itself.
- Month 12 (December): Filter change and a year-end review of your log. Compare this year’s notes to last year’s to spot trends.
This is a twelve-task calendar, but most of the work happens at two moments: the spring and fall HVAC transitions. Everything else is maintenance between them. Homeowners in Long Island City who keep to this schedule typically find that professional cleaning intervals stretch out, not because the ducts stay clean forever, but because small problems get caught before they compound.
Filter MERV Ratings by Building Type
The MERV rating that works in a detached Long Island City home will underperform or actively strain a shared-air condo system. This is where most generic checklists fail. MERV stands for Minimum Efficiency Reporting Value, and it describes how effectively a filter captures particles of a given size. Higher is not always better, because a filter that’s too restrictive for your air handler reduces airflow.
Detached homes and single-family units
A detached home or a single-family townhouse in Long Island City can usually support a MERV 11 to MERV 13 filter without airflow problems, assuming the air handler is sized correctly. MERV 13 captures fine particulate well, which is useful near the major roadways. The trade-off is that MERV 13 loads faster, so the 90-day interval may need to drop to 60 days during periods of heavy construction nearby.
Condo and co-op units with dedicated systems
If your unit has its own air handler but shares a building envelope with other units, MERV 8 to MERV 11 is the practical ceiling. The air handler in a residential condo is usually sized for a lighter filter, and pushing to MERV 13 can reduce airflow enough to cause coil freezing in summer. Stick to MERV 11 and change more often rather than going higher and changing less.
Shared-air buildings and buildings with common intake systems
This is the category where Long Island City maintenance gets tricky. If your building draws air from a common intake and distributes it through a shared system, the filter at your unit is often a secondary filter, and the primary filtration happens at the building level. MERV 8 is usually the right rating for the unit-level filter. Higher ratings here can create pressure imbalances that pull unfiltered air in through gaps. If you’re unsure which category your building falls into, ask building management before changing the rating.
MERV quick reference
- Detached or single-family: MERV 11 to MERV 13, 60 to 90 days.
- Condo with dedicated air handler: MERV 8 to MERV 11, 45 to 75 days.
- Shared-air building: MERV 8 at the unit, 30 to 60 days, coordinate with building management.
Filter quality matters as much as rating. A cheap MERV 11 filter sheds fibers and collapses under load. A pleated filter from a recognized brand holds its shape and performs to its stated rating. We use Aprilaire filtration products on jobs where the customer wants measurable filtration performance, and that brand choice matters more than the number on the box in most Long Island City units.
Visual Inspection Checkpoints You Can Do Yourself
You don’t need to dismantle anything to know whether your ducts need attention. Five checkpoints, each with clear pass/fail criteria, will tell you more than a professional scan of your vents would on the same day. Do these once a season, ideally at the spring and fall transitions.
- Register face and grille: Remove or open one supply and one return register. Pass: light even dusting you can wipe off. Fail: visible dark buildup, fuzzy dust matting, or staining around the frame. Failing the return register is the more serious of the two, because the return is what feeds the system.
- Inside the duct run (flashlight peek): Shine a flashlight into the first six to twelve inches of duct past the register. Pass: sheet metal or flex duct visible with light dust film. Fail: debris accumulation you can see as a distinct layer, dark spotting that could be microbial growth, or visible pest activity.
- Airflow test: Hold a tissue or a light piece of paper at the register while the system runs. Pass: it’s pulled or pushed steadily. Fail: weak or uneven flow compared to other registers in the unit. Uneven flow usually means a leak or a blockage, not just dirt.
- Odor test: Note the smell at the register when the system first starts after being off. Pass: neutral or faintly dusty. Fail: musty, sour, or chemical smell. Musty odor points to moisture in the system; that’s a repair question, not just a cleaning question.
- Condensation and staining: Check the ceiling and wall around each register and around the air handler. Pass: dry and unmarked. Fail: water staining, bubbling paint, or visible condensation on the duct surface. This one is a stop-and-call situation.
Log each checkpoint as pass or fail with the date. Three consecutive fails on the same checkpoint means it’s time for a professional assessment, not another filter change. A single fail on condensation or staining means call now.
How to Log Duct Condition Over Time
A duct log is the difference between “I think we had it cleaned a few years ago” and hard documented history. That matters more in Long Island City than in most places, because co-op boards and condo buyers here ask detailed questions about building systems, and a unit with documented maintenance history is easier to sell or rent.
What to log
- Date of every filter change, with the MERV rating used.
- Date and result of every seasonal inspection, one line per checkpoint.
- Date of every professional service, who performed it, and what equipment they used.
- Photos of the register faces and inside the duct run, taken at each inspection.
- Any repair or sealing work, with the scope described in plain language.
How to keep it
A simple spreadsheet works. A notebook in the utility closet works. The format matters less than the habit. Date every entry, keep photos in a folder named by year, and don’t skip the spring and fall transition inspections. When a buyer or a tenant asks about air quality, you can hand them a documented history instead of a verbal assurance. That’s a real advantage in the Long Island City market.
If you have a professional air duct cleaning done, ask for before-and-after photos and add them to your log. Photos of your own ducts, taken with the same camera angle each time, are the most useful record you can keep. We take before-and-after photos on every job precisely so the customer has a documented record of what was found and what was done.
When a Task Crosses Into Professional Territory
Some maintenance tasks are yours to do. Others cross into territory where the equipment and the training matter. Here’s the line, by service type.
Air duct cleaning
Professional air duct cleaning is indicated when you’ve had three consecutive seasonal inspection fails, when visible debris is present inside the duct run, or when a unit hasn’t been serviced in three or more years. The right equipment for this job is a rotary brush system paired with negative-pressure HEPA vacuum. We use Rotobrush rotary-brush equipment for mechanical agitation inside the duct run, and Nikro HEPA vacuum systems to maintain negative pressure throughout the job. That combination is what separates a real cleaning from a van-and-vacuum sweep, because the brush loosens what’s bonded to the duct wall and the negative pressure contains it before it can enter the living space.
HVAC cleaning
Cleaning the air handler, evaporator coil, and blower assembly is professional work. The coil is where moisture collects and where microbial growth most often starts in Long Island City units. Professional HVAC cleaning addresses the coil and blower, not just the duct runs, and that’s the difference between a clean system and a clean-looking one.
Duct repair and sealing
Leaking joints, disconnected flex runs, and damaged duct sections are repair work, not cleaning work. Duct repair and sealing addresses the leaks that cleaning alone can’t fix, and it improves system efficiency in the process. If your airflow test shows uneven flow and the duct run looks intact, a leak is the likely cause.
Dryer vent cleaning
Dryer vents are a separate system from your HVAC ducts, and they’re a fire-safety item. Lint accumulation in a dryer vent is a real hazard, and Long Island City units in older buildings often have long, convoluted vent runs that trap lint faster than a straight run. Professional dryer vent cleaning is the right call every one to two years for most LIC units. Don’t wait for the dryer to run hot.
Air quality and sanitizing
Sanitizing is the step that follows cleaning when there’s evidence of microbial growth or persistent odor. Antimicrobial treatment and air-sanitizing products address what cleaning alone leaves behind, and it’s a standard offering, not an upsell. We use Abatement Technologies equipment for containment during air quality work, and products from Honeywell and Aprilaire for filtration and humidity control where they’re appropriate to the system.
Safety caveat: if any of these systems involves electrical components, gas connections, or work at height, and you’re not trained for it, leave it to a professional. Air handlers carry line voltage. Gas furnaces carry a real hazard. Ductwork in a high-rise may be at a height that requires fall protection. Our technicians handle these systems daily, and the safety margin isn’t worth trading for a DIY attempt.
Matching the Service to the System
One of the most common questions we get in Long Island City is which service a given symptom calls for. Here’s how the symptoms map to the service, so you can describe the problem accurately when you call.
- Visible debris inside ducts, or a unit unserviced for years: air duct cleaning.
- Musty odor, condensation, or dark spotting near the coil: HVAC cleaning, potentially followed by sanitizing.
- Uneven airflow, whistling at registers, or higher energy bills: duct repair and sealing.
- Dryer taking longer to dry, or a hot dryer exterior: dryer vent cleaning.
- Allergy flare-ups that persist despite clean filters: air quality and sanitizing, following a full system inspection.
The reason this mapping matters is that a single-service company will sell you the service they offer. If you call a duct-only cleaner about a musty smell, you’ll get a duct cleaning; if the problem is the coil, the smell comes back. The full scope under one roof, from cleaning to sealing to sanitizing, means the diagnosis and the fix come from the same place. That’s why we keep all five service lines available rather than specializing in one.
A proper professional visit starts with a visual assessment and a scope conversation, not a vacuum. The technician should tell you what they’re going to do, what equipment they’ll bring for it, and what it will cost before any work starts. If a company won’t tell you the scope before they start, that’s your signal to call someone else.
Common Mistakes to Avoid
- Keeping the same filter interval year-round. In Long Island City, spring and fall transitions load a filter faster than mid-summer. Shorten the interval at the transition months, especially if your unit faces a major roadway.
- Buying the highest MERV rating available. A MERV 13 filter in a condo air handler sized for MERV 8 will restrict airflow and can freeze the coil. Match the rating to the system, not to the marketing.
- Skipping the return register inspection. Homeowners check supply registers and ignore returns. The return is what feeds the system, so a failing return register is the more important finding.
- Treating a musty smell as a cleaning problem. Odor usually points to moisture at the coil, not just dust in the ducts. Cleaning without addressing the moisture source means the smell returns.
- Forgetting the dryer vent entirely. It’s not part of the HVAC system, so it drops off the checklist. Lint buildup in a Long Island City unit with a long vent run is a fire-safety issue, not just an efficiency issue.
- Not logging anything. Without a log, you can’t tell whether an interval is working or whether a problem is getting worse. A written record turns guesswork into a maintenance decision.
- Taking a low coupon price at face value. A very low advertised price usually reflects a scope that stops at the register face. Ask what the price includes before you book, and get it in writing.
See the difference
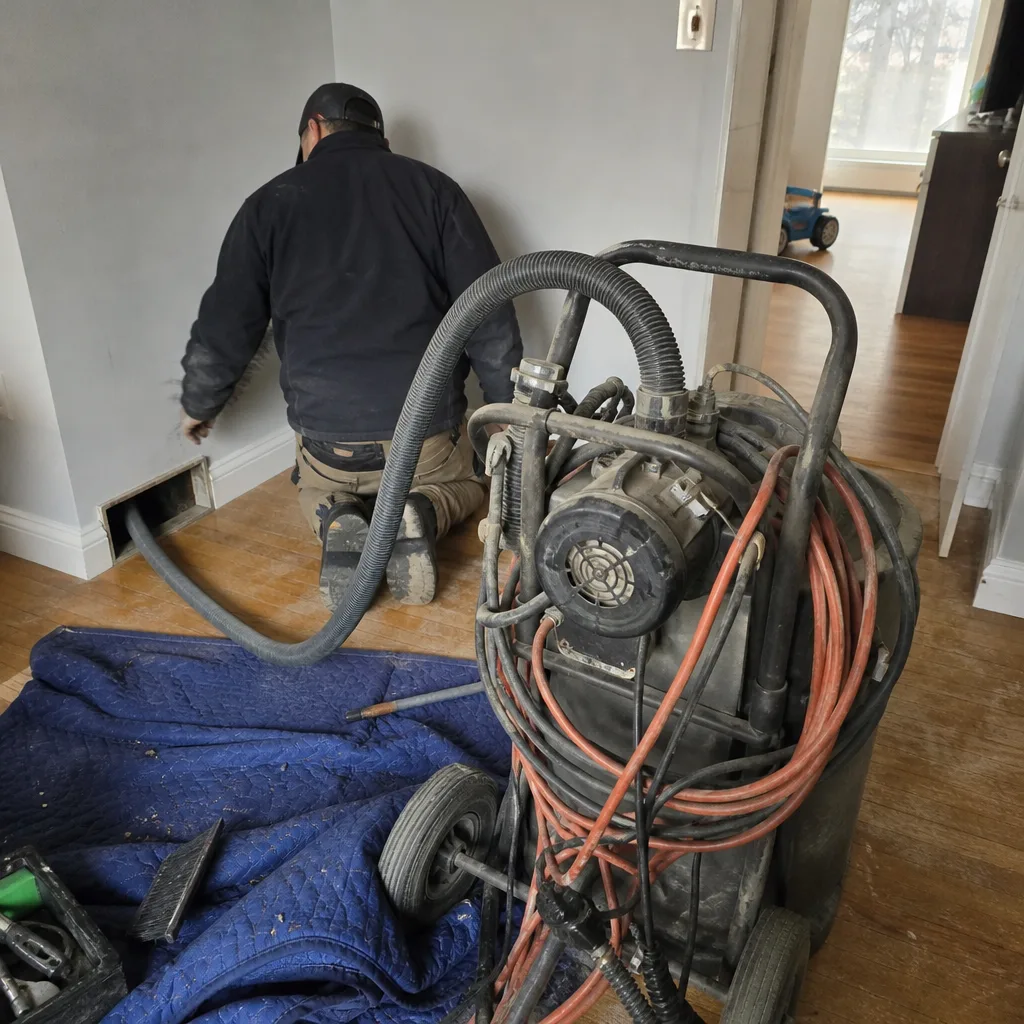 Before
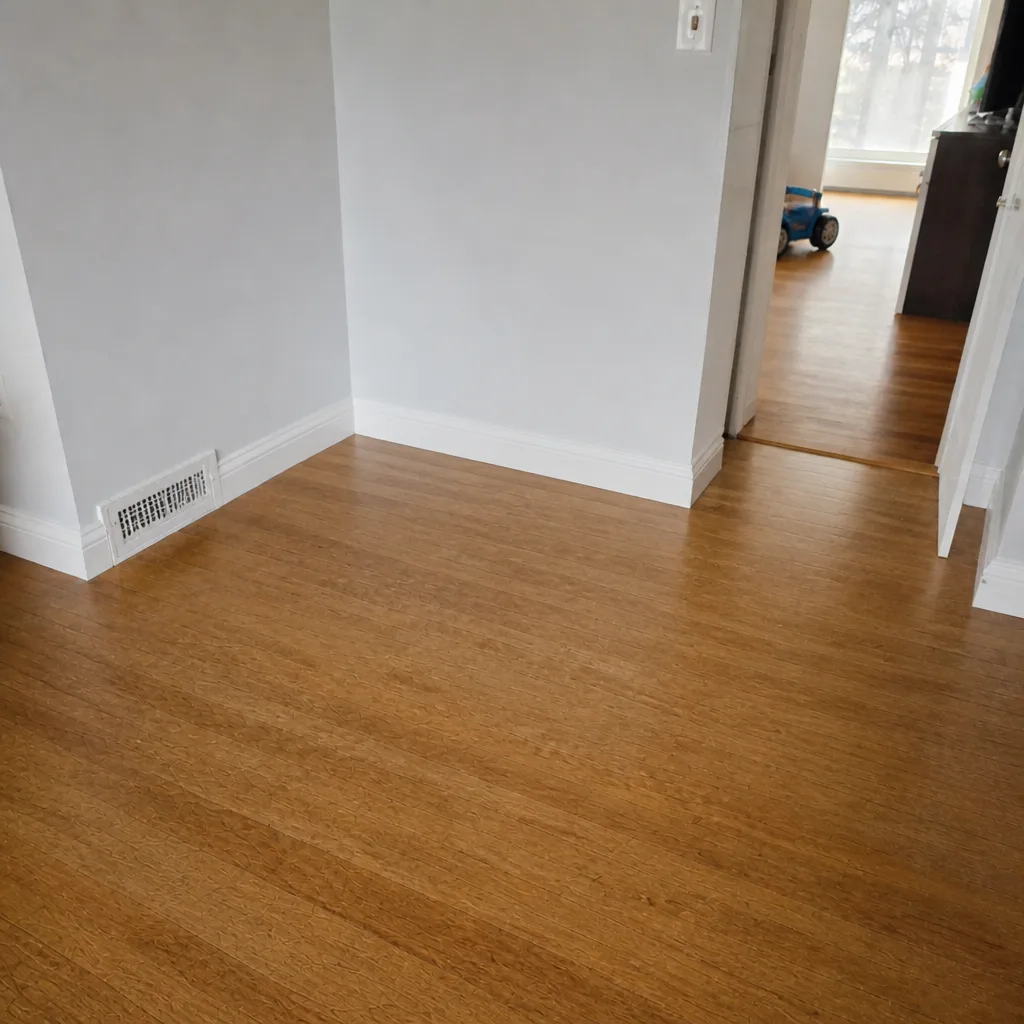 After
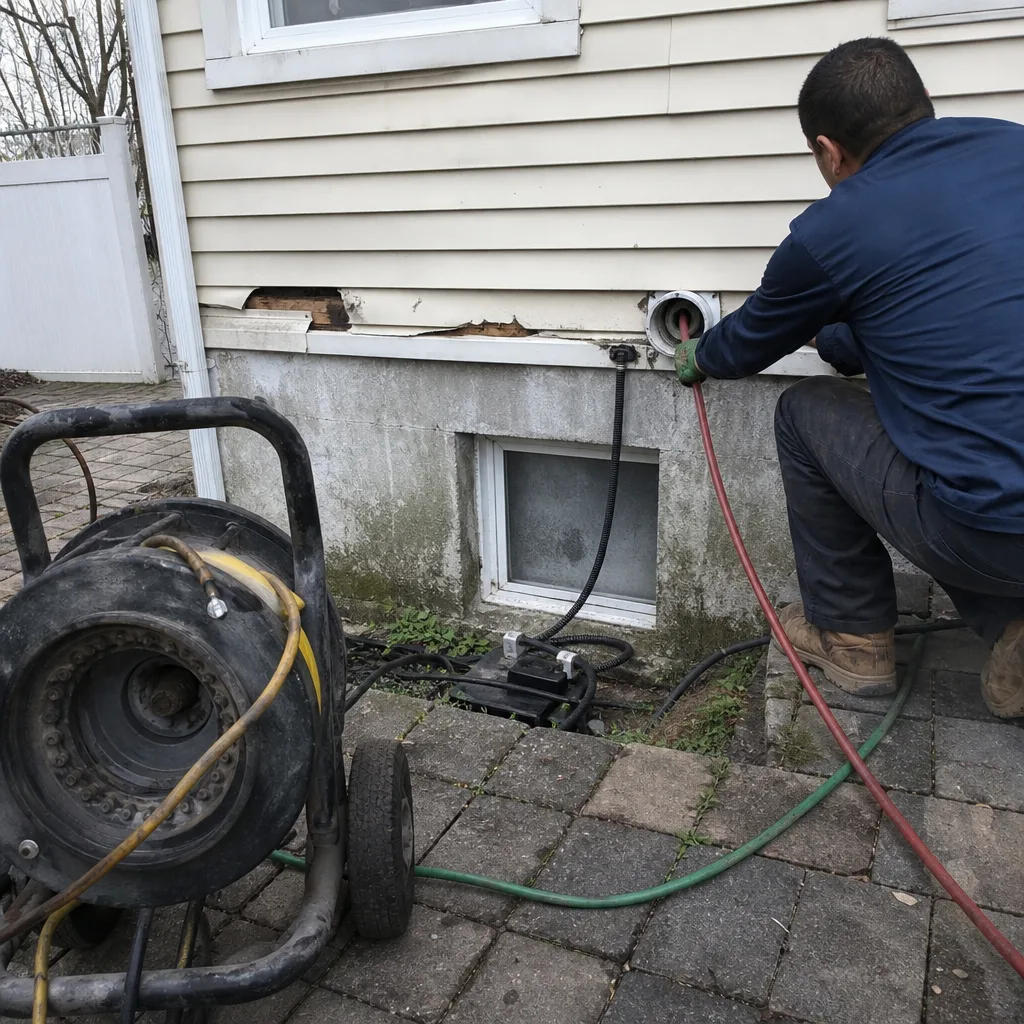 Before
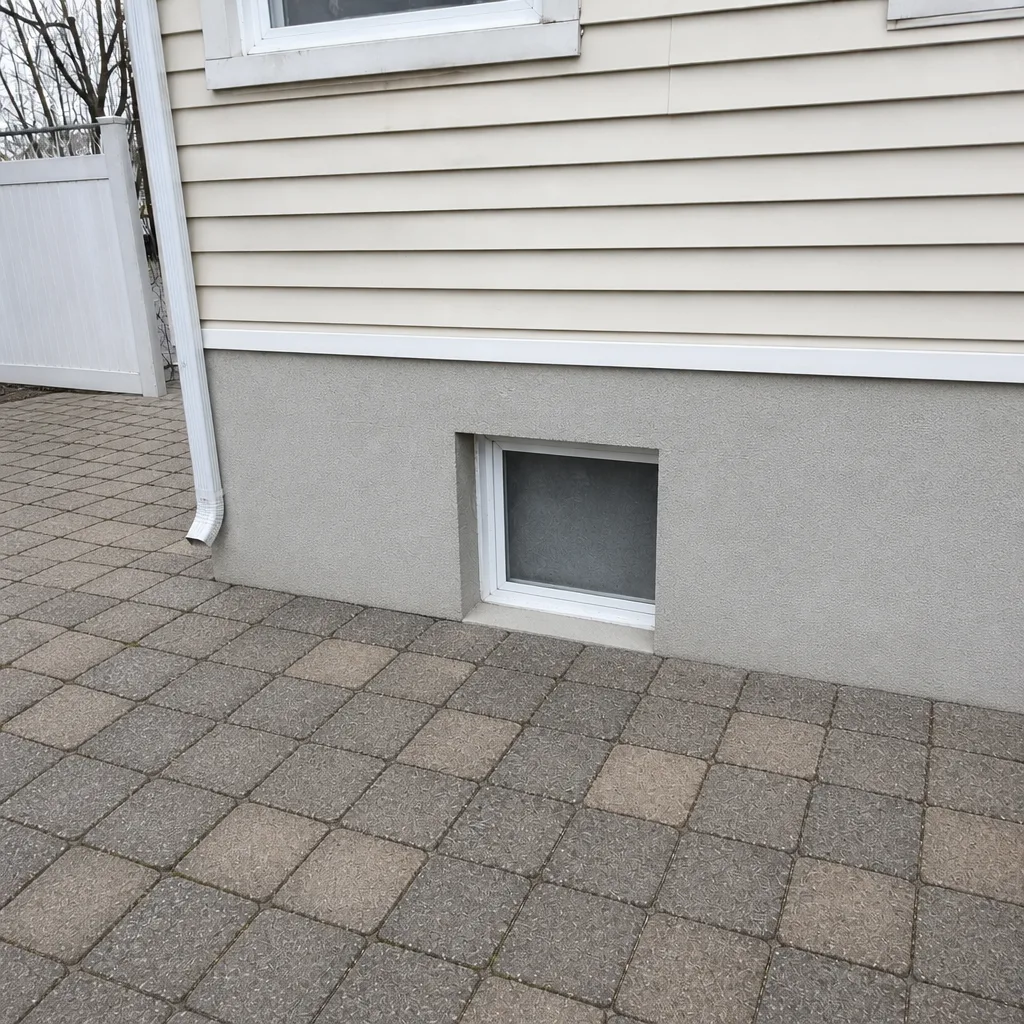 After
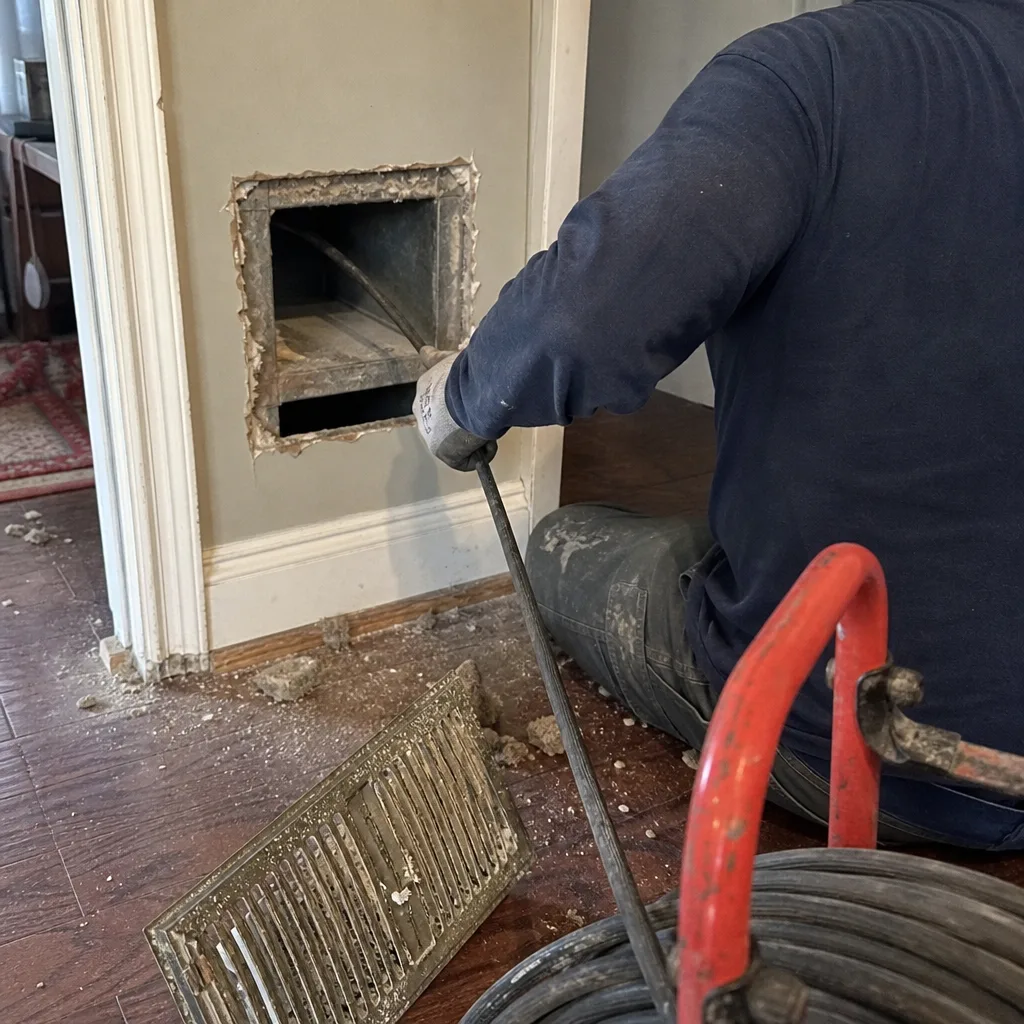 Before
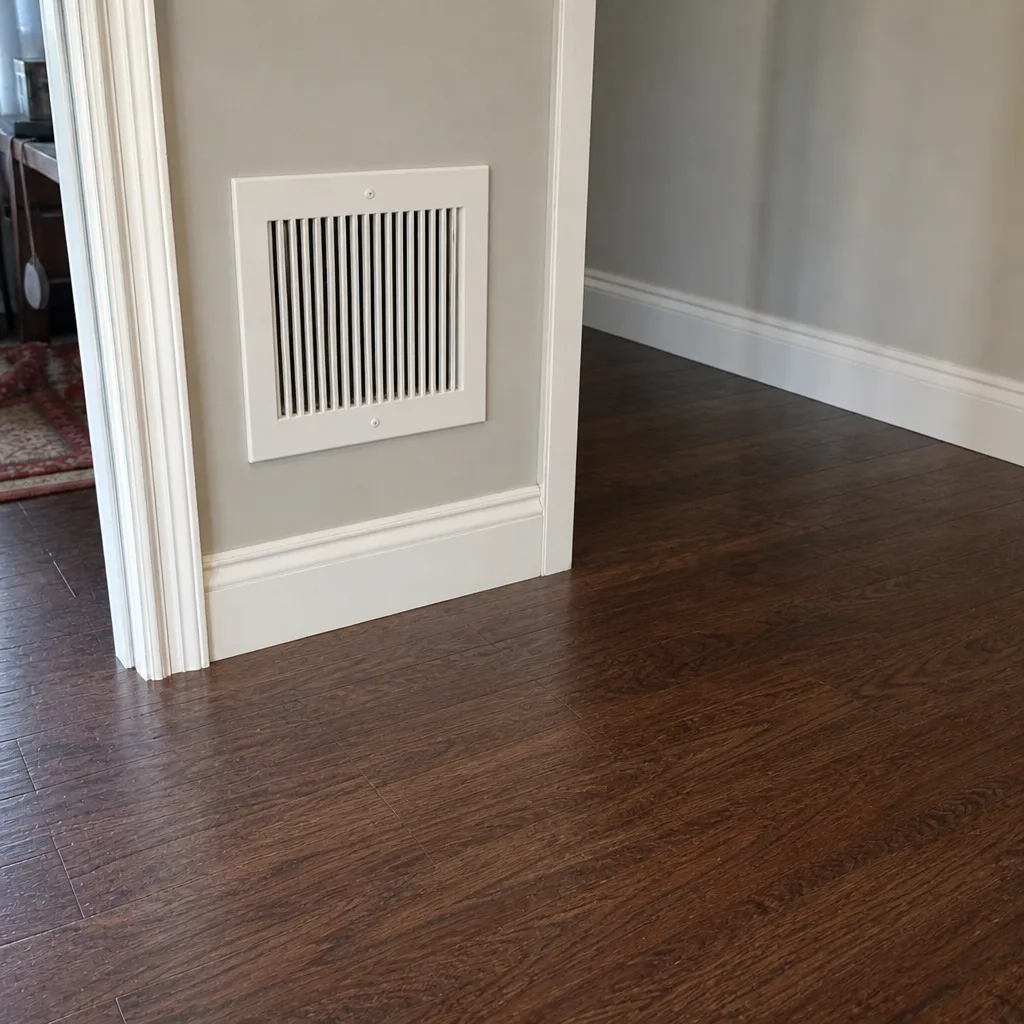 After
When to Call a Professional
Call a professional when you have three consecutive seasonal inspection fails on the same checkpoint, when you see visible debris or microbial spotting inside a duct run, when airflow is uneven across registers, when you smell musty or sour odor at the registers, or when you see condensation or water staining near the air handler. Call immediately if any of those is paired with a gas furnace issue or electrical concern, since those carry a safety risk that a homeowner shouldn’t take on. If your unit hasn’t been professionally serviced in three or more years, a full assessment is due regardless of how things look.
Air Duct Cleaning Long Island City offers free estimates in Long Island City. Call (833) 918-5344. We answer 24/7. Fast dispatch from 7am to 7pm, Sunday through Friday. We’ll tell you what the scope is, what equipment it requires, and what it will cost before any work begins, and we’ll photograph the ducts before and after so you have a record.
Frequently Asked Questions
Most Long Island City units need professional cleaning every three to five years, but shared-air co-op and condo buildings often need it more often, sometimes every two to three years, because contamination from one unit can reach others through the common system. Your own inspection log and the pass/fail criteria above are a better guide than a fixed calendar. Call (833) 918-5344 for an exact quote on your unit; estimates are free.
Use MERV 8 to MERV 11 in a condo with a dedicated air handler, MERV 11 to MERV 13 in a detached home, and MERV 8 at the unit level in a shared-air building. Going higher than the air handler can support restricts airflow and causes more problems than it solves. If you’re unsure which building type you have, ask building management first. Call (833) 918-5344 if you’d like us to look at the system and recommend a rating; estimates are free.
Cheap quotes usually reflect a narrower scope: a vacuum at the register face rather than mechanical agitation of the full duct run, and no containment. A proper job uses a rotary brush system and negative-pressure HEPA vacuum, which takes more time and equipment. Ask what equipment the company uses and what the price includes, in writing. Call (833) 918-5344 for a written estimate that spells out the scope.
Ask for before-and-after photos of your own ducts, taken from the same camera angle, and compare them against the inspection notes. A company that photographs its work and gives you the photos has nothing to hide. We photograph every job for exactly this reason. Call (833) 918-5344 and ask about the photo record before you book; estimates are free.
Some co-op boards in Long Island City ask for maintenance records on building systems when you sell or rent a unit, and a written duct log makes that conversation easier. The specific requirements vary by building, so check with your management company. Keeping a simple log with dates and photos is worth the habit regardless. Call (833) 918-5344 if you need a professional service recorded for that purpose; estimates are free.
Yes, and it’s a separate service from HVAC duct cleaning. Dryer vents in Long Island City’s older buildings often have long or angled runs that trap lint, and lint in a dryer vent is a fire hazard. Clean the dryer vent every one to two years, and check the exterior flap quarterly. Call (833) 918-5344 to book dryer vent cleaning alongside your duct service; estimates are free.
The Bottom Line
Duct maintenance in Long Island City isn’t a national-average calendar. Building type drives your filter rating, your exposure drives your interval, and the spring and fall HVAC transitions are the moments when problems surface. Change filters on the schedule your building actually needs, run the five self-inspection checkpoints each season, log every result with photos, and treat three consecutive fails as the signal to bring in a professional. When that time comes, ask what equipment the company uses, get the scope in writing, and ask for before-and-after photos of your own ducts. If you’d rather have someone assess the system and tell you plainly what it needs, that’s what we do. Air Duct Cleaning Long Island City offers free estimates. Call (833) 918-5344. We answer 24/7. Fast dispatch from 7am to 7pm, Sunday through Friday.
For a fuller look at our core service, see air duct cleaning in Long Island City, and for the related systems covered in this checklist, our dryer vent cleaning and HVAC cleaning pages explain what each covers.
Written by the team at Air Duct Cleaning Long Island City.