
Last updated November 22, 2026
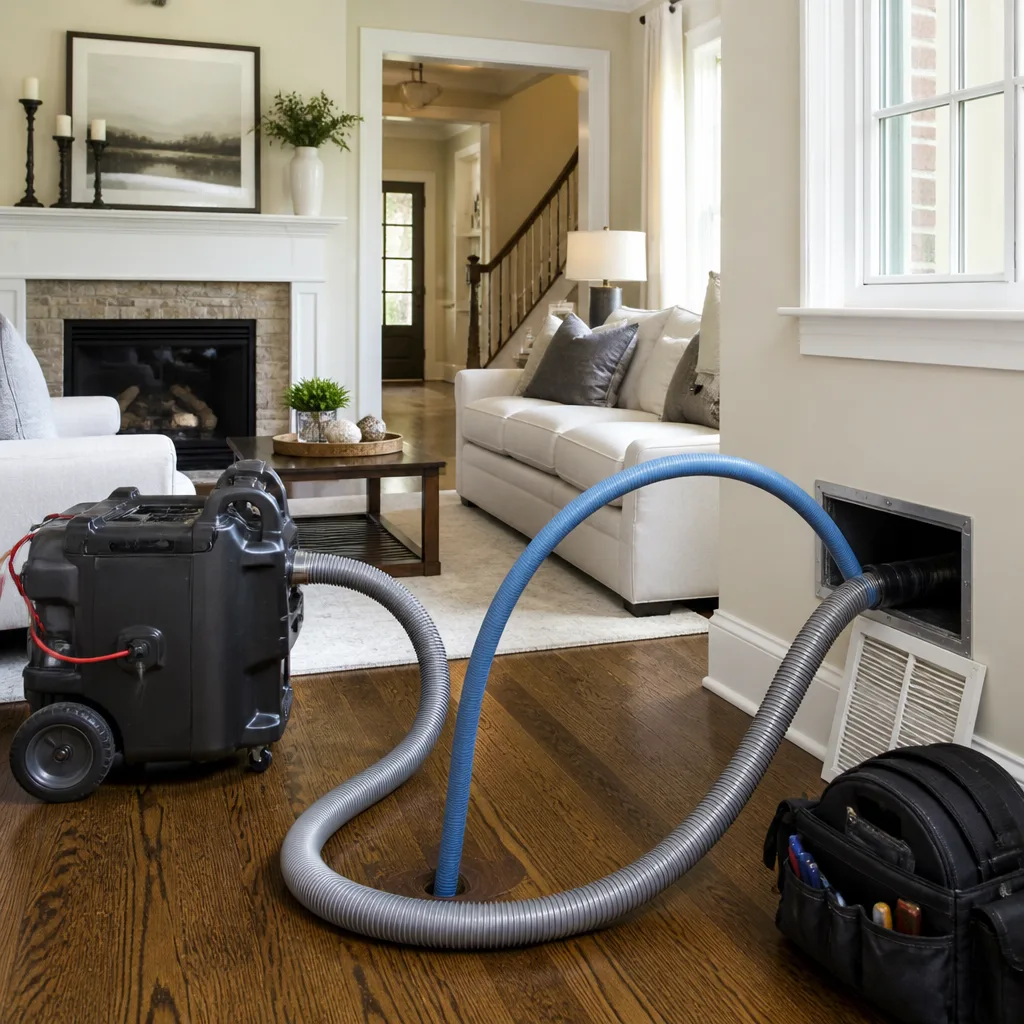 Whole-home duct cleaning
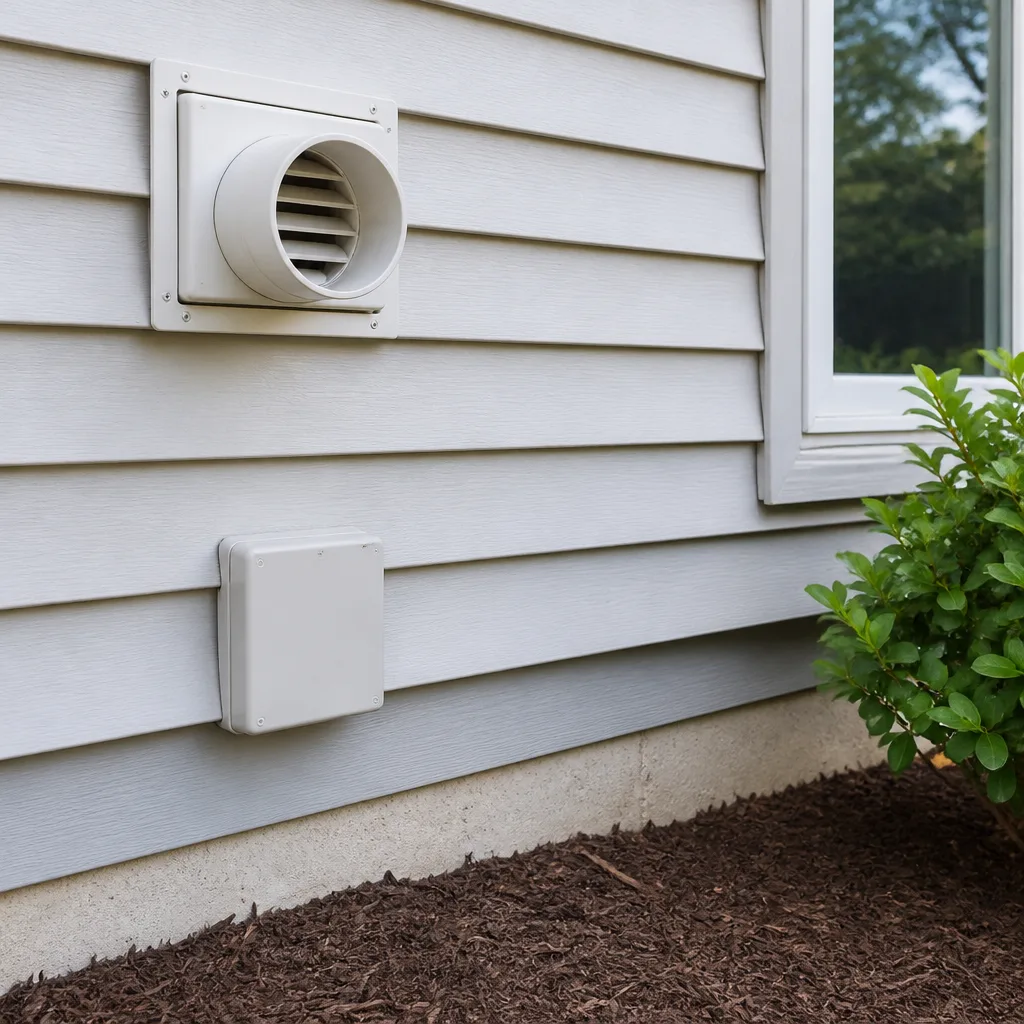 Dryer vent cleaning
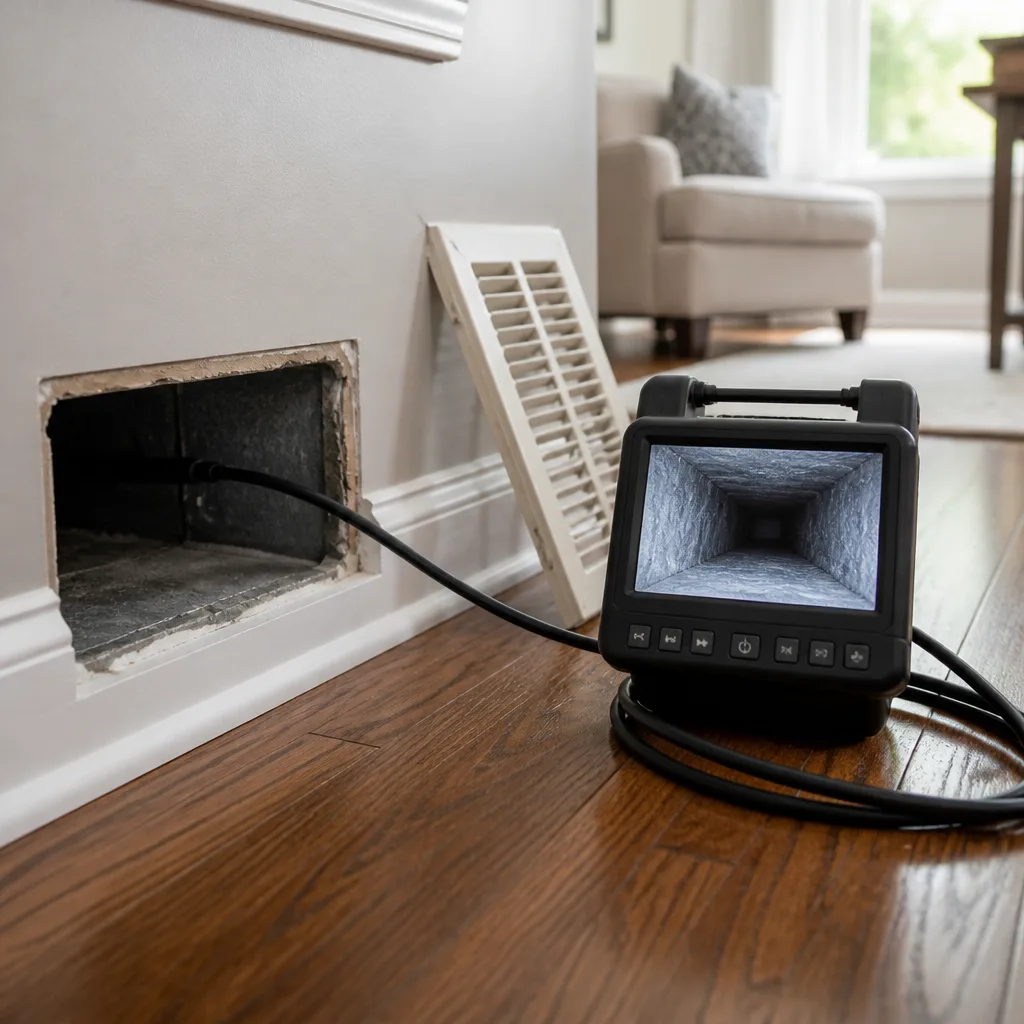 Camera inspection
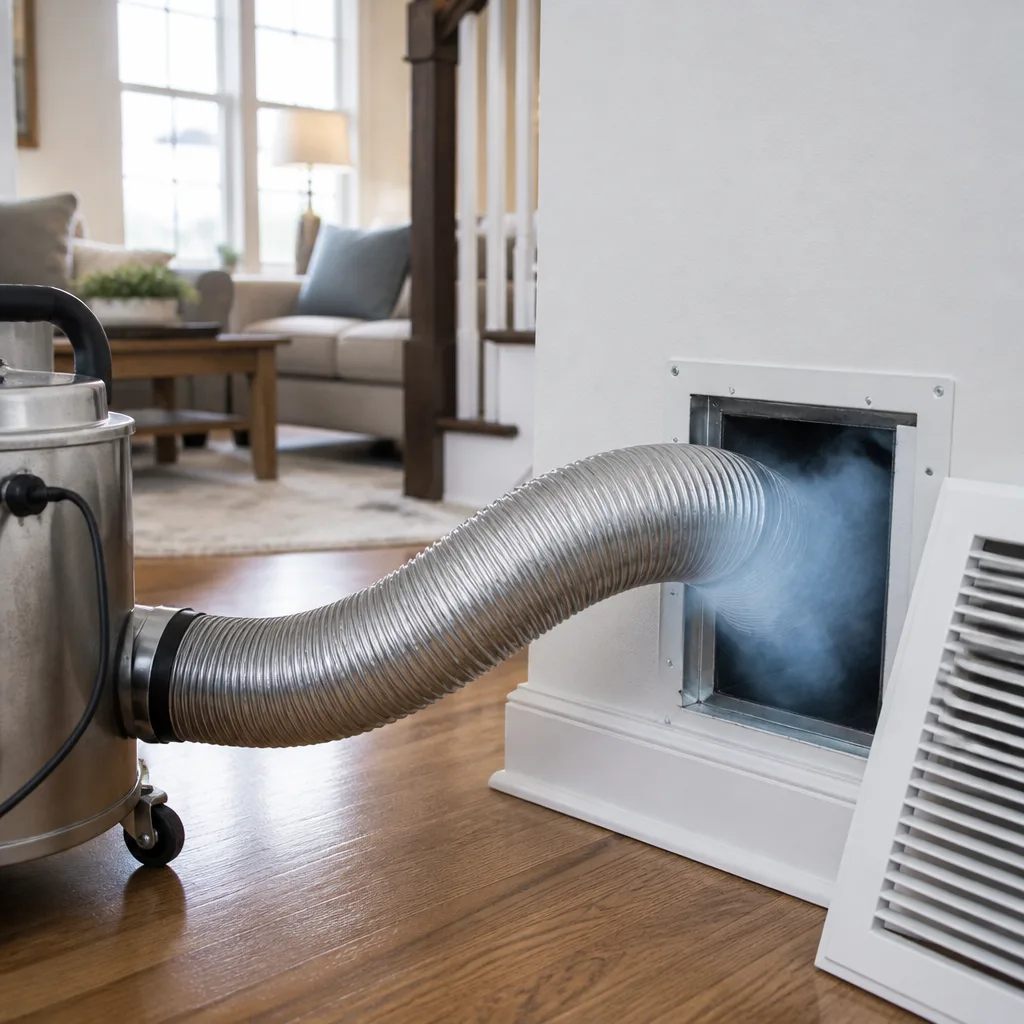 Sanitizing & deodorizing
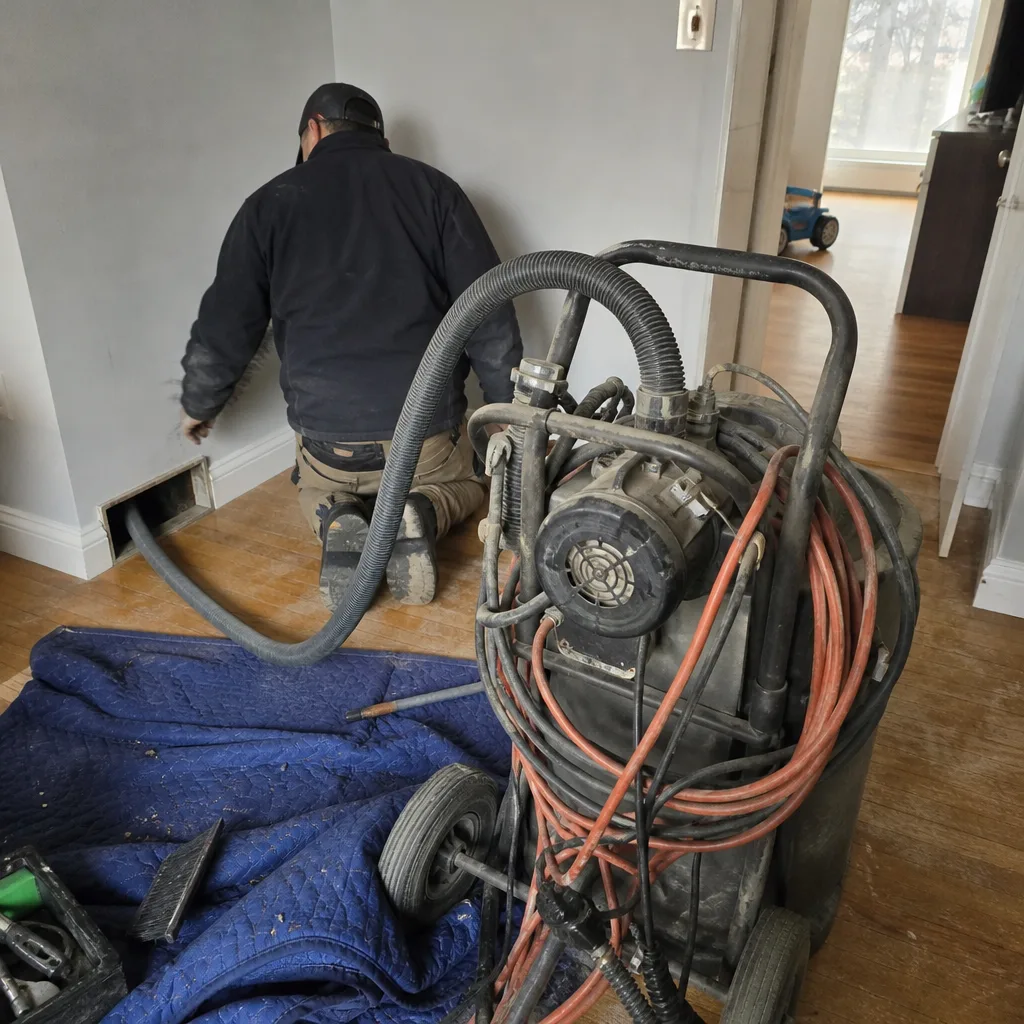
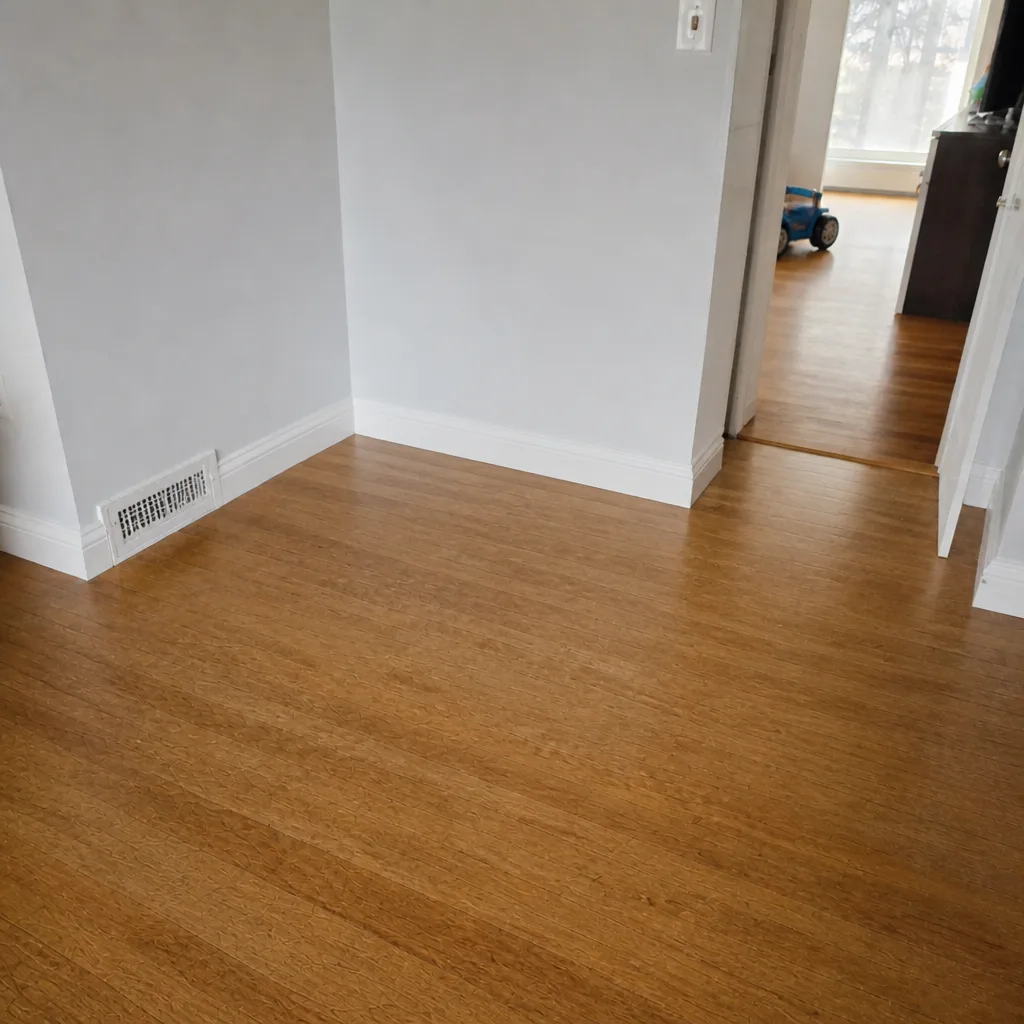
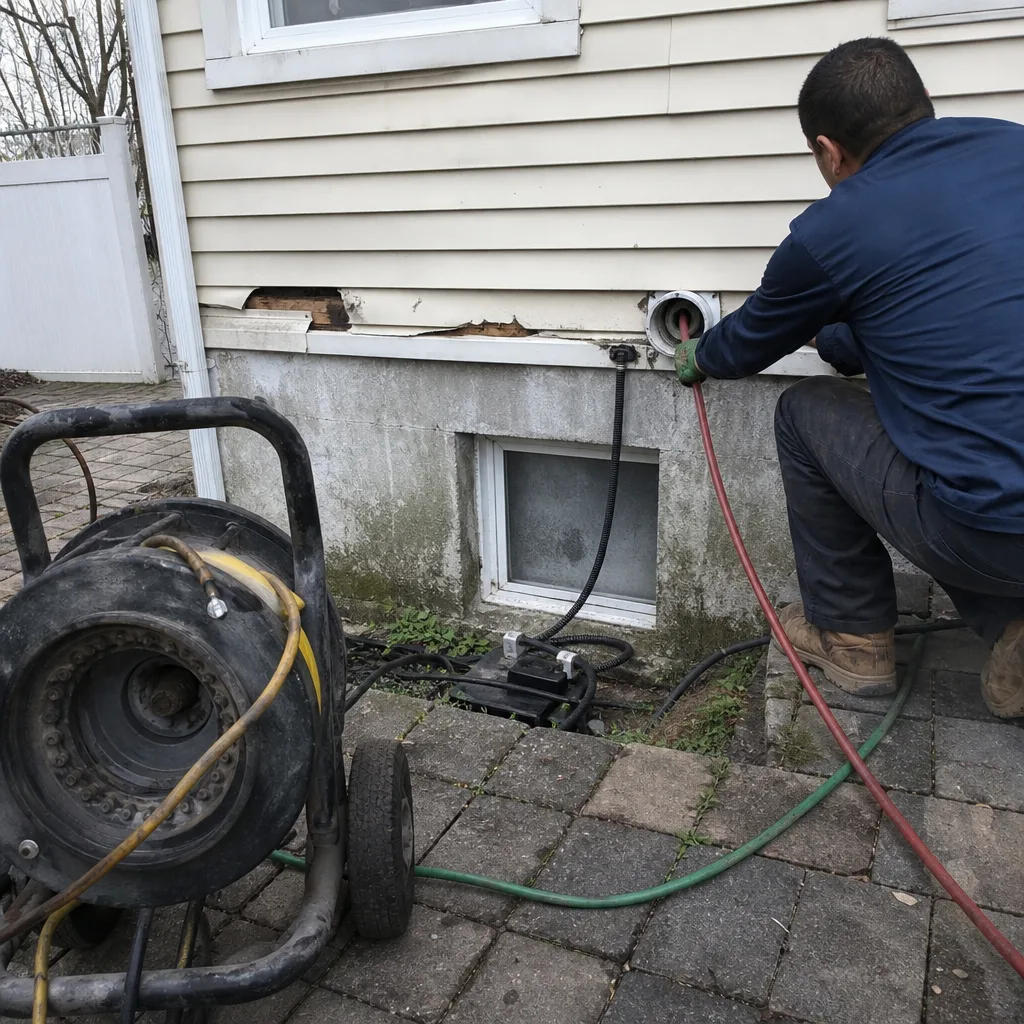
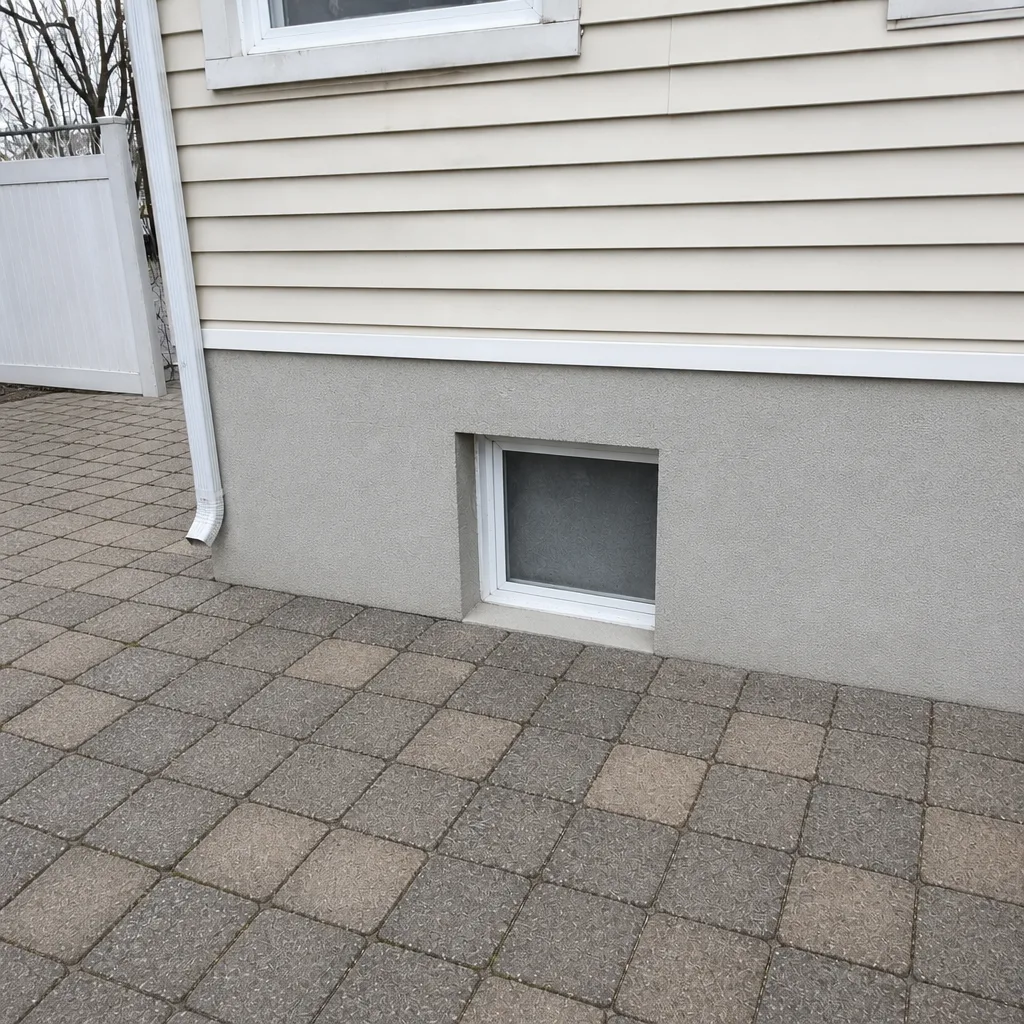
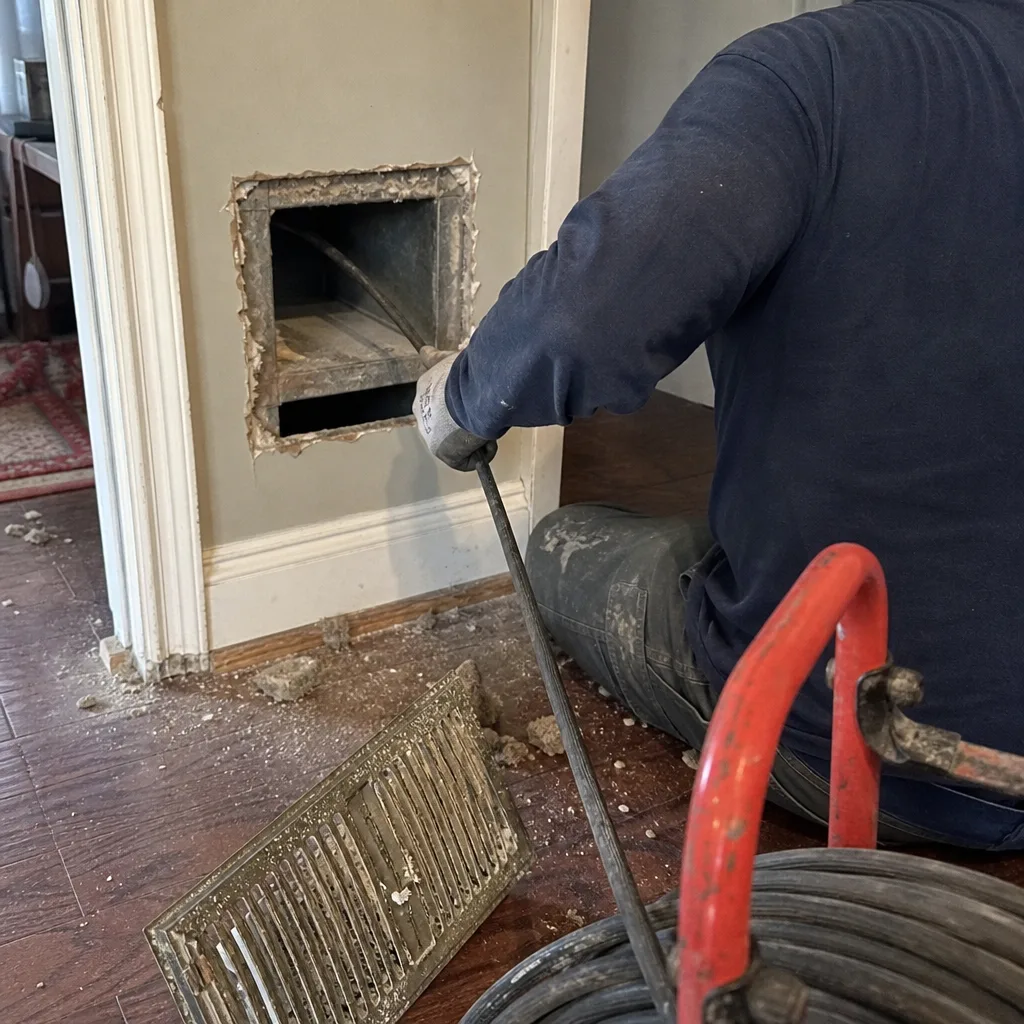
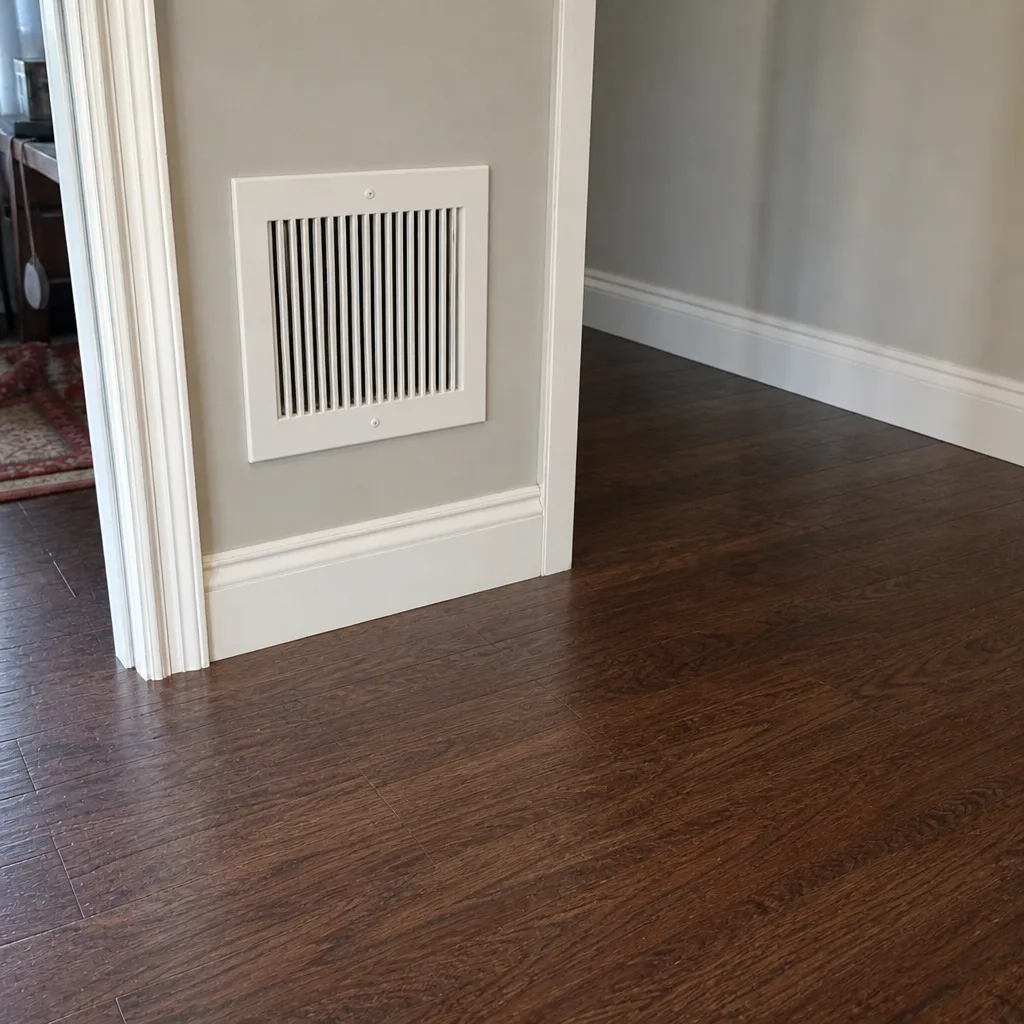
Whole-system duct and dryer vent check with before-and-after photos - you see exactly what came out of your vents
That "$99 whole-house special" is a bait ad - the real number appears once they are in your hallway, or the "clean" is a shop-vac at the register. We photograph the inside of your ducts before and after instead.
DIY vs Professional Air Duct Cleaning: The Long Island City Homeowner’s Decision Guide
Every YouTube tutorial on DIY duct cleaning shows someone vacuuming a vent cover. That’s not duct cleaning, that’s surface cleaning, and the debris sitting eighteen inches into your ductwork is completely untouched. You’ve probably also seen a shop vac dragged up to a ceiling register, a brush taped to a drill, and a confident narrator promising the same result a professional gets. The gap between what those videos show and what actually happens inside a duct system isn’t effort or enthusiasm. It’s physics. Consumer vacuums can’t pull the negative pressure that source removal requires. Before you spend a weekend on your knees or rent equipment you’ll return half-used, this guide will explain what DIY can honestly accomplish in Long Island City, what it can’t, and how to decide which route makes sense for your home.
Styles & brands we work with
- Whole-home duct cleaning
- Dryer vent cleaning
- Camera inspection
- Sanitizing & deodorizing
Quick Answer
DIY air duct cleaning cleans vent covers, registers, and the first few inches of visible ductwork. It cannot clean the duct system itself, because consumer shop vacs don’t generate the 150+ CFM of negative pressure that professional HEPA equipment produces to pull debris out of the system without spreading it into your living space. If you want the ducts themselves cleaned, that requires professional equipment like a Rotobrush rotary brush paired with a Nikro negative-pressure vacuum. If you want to change filters, dust your registers, and spot-check for problems, DIY is a reasonable ongoing habit.
Table of Contents
- Why DIY Duct Cleaning Hits a Physics Wall
- What You Can Legitimately Do Between Professional Cleanings
- When DIY Action Makes the Problem Worse
- DIY vs Professional Cost, Compared Honestly
- Why Long Island City Is Harder on Duct Systems Than the Suburbs
- What a Professional Cleaning Actually Involves
- How to Decide: A Simple Decision Framework
- Common Mistakes to Avoid
- When to Call a Professional
- Frequently Asked Questions
- The Bottom Line
Why DIY Duct Cleaning Hits a Physics Wall
Air duct cleaning works on one principle: source removal. You loosen debris off the duct walls, and you pull it out of the system under containment. Both halves of that process depend on equipment that no homeowner owns, and the numbers tell you why.
Professional duct cleaning rigs pull 150+ cubic feet per minute (CFM) of negative pressure through the duct system. At that draw, a length of flexible duct or a branch in the trunk line is held under continuous suction while a rotary brush agitates the interior. A shop vac you rent from a hardware store might peak at a fraction of that airflow, and its suction drops steeply as soon as the hose threads through a register. Put those two machines side by side and it’s not a small difference in power. It’s the difference between extracting debris and merely moving it around.
Here’s what happens when you agitate debris without real negative pressure. The bristles or hose knock dust and lint off the duct wall. With no strong draw to carry it to a collection point, that material simply re-settles somewhere else in the system, often deeper in the trunk line or into a room you weren’t working in. You’ve spent two hours and moved dirt from one place to another. Worse, you’ve introduced turbulence into a closed system that was, before you started, relatively static.
That’s why professionals don’t just blast air through ducts. An air duct cleaning technician sets up negative-pressure containment first, so every dislodged particle travels out of the system rather than settling back inside it. Then rotary agitation loosens what’s stuck to the walls. Then HEPA filtration captures the exhaust. The Rotobrush handles the mechanical scrubbing. The Nikro HEPA vacuum maintains containment. Each piece depends on the other, and no consumer tool substitutes for either.
One more thing the physics tells you: ducts are hidden. A shop vac cleans what you can see. The dust, pet dander, drywall fibers, and skin cells that cause musty smells and uneven airflow live in sections of duct you’ll never see from a step ladder, and that’s exactly where the equipment needs to reach.
What You Can Legitimately Do Between Professional Cleanings
We’re not going to tell you never to touch your vents. Between professional cleanings, homeowners can do real, useful maintenance. The trick is knowing which actions actually help indoor air quality and which ones just feel productive.
Here’s the honest list of things you can genuinely do yourself:
- Change your HVAC air filter on schedule. This is the single highest-impact thing you can do for air quality. Check it monthly during heating and cooling season and replace it when it’s loaded with dust. Match the filter to your system’s spec; a filter that’s too restrictive strains the blower.
- Vacuum and wipe your vent covers and registers. Pop the grille off if it comes free easily, vacuum both sides, and wipe with a damp cloth. This stops dust from shedding into the air every time the system kicks on.
- Dust around return-air grilles. The dust ring that builds up around a return grille gets pulled into the system. A quick pass with a microfiber cloth limits that.
- Do a visual inspection with a flashlight. Shine a light into a few registers and look for obvious dust accumulation, dark spotting, or anything that looks like pest activity. Note what you see so you can describe it to a technician.
- Keep return grilles unobstructed. Furniture, rugs, or storage boxes pressed against a return grille cut airflow and push the system to work harder for the same result.
- Track filter changes and anything unusual. A simple note on your phone with the date and filter type saves a lot of guessing later. If airflow seems uneven or a room has developed a smell, note when it started.
Notice what’s missing from that list: any action that reaches into the duct run. Register cleaning is surface cleaning by definition. That’s fine. It’s supposed to be surface cleaning, and it does reduce visible dust in a room. But don’t confuse a wiped grille with a cleaned duct system, and don’t try to improvise a duct cleaning tool out of a shop vac and a broom handle. That’s where people get into trouble, which is the next section.
When DIY Action Makes the Problem Worse
DIY vent cleaning done gently is harmless. DIY duct cleaning attempted with consumer tools can actively damage your system or make a contamination problem worse. These are the failure modes we see, and they’re worth understanding before you start improvising.
Agitating mold spores without containment. If there’s mold growth inside a duct, dust itself isn’t the main concern. Mold spores are. Loosening that growth with a brush or vacuum hose, with no HEPA containment to capture the particles, disperses spores through the supply system and into living spaces. A system that had localized growth now has spores in every room the ducts feed. Cleaning a compromised duct is a job that starts with containment and often ends with sanitizing.
Dislodging insulated duct lining. Many duct systems, especially in older buildings, have internal insulation or a flexible inner liner that’s fragile. A rigid brush or a shop vac attachment pushed down a branch can tear that lining free, leaving flaps of insulation that obstruct airflow, add fiberglass particles to the airstream, and require duct repair to fix. The liner is not designed to be pushed through with a homeowner tool.
Pushing debris deeper into the system. Without negative pressure holding the system under draw, a shop vac’s exhaust or a leaf blower “trick” circulated through a register sends loose debris further into the trunk line than it started. You can’t clean what’s now out of reach of your tool, and you’ve spread the problem into sections that are harder to reach professionally.
Damaging fragile flex duct or joints. Long Island City has a lot of converted industrial and pre-war residential buildings with duct runs that weren’t installed to modern tolerances. Joints, seams, and flexible connectors are often older than the fixtures in the room. Yanking a hose through them can pop a connection and start a leak that quietly robs your system of efficiency for years.
Stirring up more contamination than you remove. A quick pass that loosens material but doesn’t extract it leaves your indoor air temporarily worse, not better. The brief satisfaction of “I did something” is followed by a smell that wasn’t there before. Containment exists so this doesn’t happen.
None of this is a scare tactic. It’s just the physical reality of working inside a closed system with tools that weren’t designed for it. If you’ve already tried a DIY pass and noticed a smell or weaker airflow, that’s a signal to bring in a professional, not to try again with a bigger shop vac.
DIY vs Professional Cost, Compared Honestly
The cost comparison homeowners actually want is straightforward: what does a DIY attempt cost, and what does a professional job cost, once you account for what each one accomplishes?
A DIY setup looks cheap on the surface. A shop vac rental for a weekend, a duct brush kit, maybe a few replacement register covers. Add up the rental days, the disposable brushes, your time, and the filter you’ll replace afterward, and it lands in a range that feels reasonable. But the comparison only makes sense against what you get. A DIY setup removes visible dust from registers and the first stretch of accessible duct. It doesn’t clean the trunk line, it can’t reach most branches, and it produces no containment or verification. You’re paying for surface cleaning.
A professional job costs more upfront because it does more. Air duct cleaning in Long Island City is priced per job by a written estimate, not per vent, and it includes negative-pressure containment, rotary agitation, HEPA extraction, and before-and-after photos of your own ducts. The estimate is free, and you can see what you’re paying for before you commit.
Here’s the honest breakdown of what each side gets you:
| Item | DIY approach | Professional approach |
|---|---|---|
| What’s cleaned | Registers, grilles, first few inches of visible duct | Entire accessible duct system, trunk and branches |
| Equipment | Shop vac rental, brush kit | Rotobrush rotary brush + Nikro HEPA negative-pressure system |
| Containment | None | HEPA-level negative pressure throughout |
| Verification | Visual only, limited to surfaces | Before-and-after photos of your own ducts |
| Sanitizing option | Not available | Antimicrobial and air-sanitizing services |
| Pricing structure | Rental + supplies + your time | One flat price per system, set by written estimate |
The comparison isn’t purely a dollar contest. It’s a question of what each approach leaves you with. A cheap DIY pass that leaves the trunk line loaded with dust hasn’t solved the problem; you’ve just changed the location of it. A professional job costs more because the work is genuinely different in kind, not just degree.
If you want an exact figure for your Long Island City unit, that comes from an estimate. Call (833) 918-5344. We answer 24/7. Fast dispatch from 7am to 7pm, Sunday through Friday. Estimates are free, and the written estimate sets the final price.
Why Long Island City Is Harder on Duct Systems Than the Suburbs
Air duct cleaning as a topic is the same everywhere, but the environment that ducts live in is not. Long Island City’s building stock has specific characteristics that make professional equipment more important here than it would be in a house surrounded by open space.
Density and shared systems. A lot of Long Island City buildings are multi-unit. That means shared trunk sections, risers that pass between floors, and duct runs that were retrofitted into buildings that weren’t designed around them. In a shared system, one unit’s duct contamination can feed into the neighboring unit’s ventilation. That raises the stakes on containment. If you agitate debris without negative pressure in a shared system, you’re not just moving your own dust, you’re potentially moving it into someone else’s air. Professional cleaning here has to be planned around the building, not just the unit.
Older duct materials. Many Long Island City homes and conversions date back to eras when ducts were built with different materials and tolerances than modern systems. Rigid metal duct, insulated flex, and older sheet-metal work all behave differently under cleaning. A rotary brush needs the right torque and the right pressure so it scrubs without tearing. That’s where the Rotobrush and Nikro setup matters more here than in a new-build suburb: the equipment is calibrated to handle older, more fragile material without damaging it.
HVAC system configurations. Dense buildings often have HVAC setups that differ from a standard single-family home. HVAC cleaning in a building like this needs a technician who can read the system layout, identify which runs are actually reachable, and set up containment so nothing escapes into a neighboring space. That’s not a job for a tutorial and a rental vac.
Humidity swings and seasonal dust load. Long Island City apartments go through wide humidity swings between seasons, which affects how dust clings to duct walls and how quickly microbial growth can develop in a moist environment. When you’re cleaning a system that’s seen those cycles, the sanitation question comes up quickly. Professional sanitizing beyond debris removal isn’t a DIY option at all.
None of this means every Long Island City unit needs a full professional job at all times. It means the case for professional equipment is stronger here than it might be elsewhere, and the reasons are specific to the buildings we actually work in.
What a Professional Cleaning Actually Involves
If you’ve only seen the DIY version, the professional process can look mysterious. Here’s what it actually involves, step by step, so you can compare it honestly against what you’d be doing yourself.
- Assessment and estimate. Before any work, we assess the system: how many runs, what materials, where the access points are, and whether there are signs of mold, pest activity, or duct damage. That assessment produces a written estimate with one flat price for the whole system.
- Containment setup. The team sets HEPA-level negative pressure on the system, using equipment like a Nikro vacuum connected through a designated access point, so the entire duct system sits under draw. Any debris loosened during cleaning travels to the collection point, not into your rooms.
- Rotary agitation. A Rotobrush rotary brush is fed through the duct runs, scrubbing the walls of the trunk line and branches. The brush loosens what’s bonded to the duct surface, and the negative pressure carries it out of the system in real time.
- HEPA extraction. Dust and debris drawn out of the ducts pass through HEPA filtration, capturing particles that would otherwise re-enter the air. The system is cleaned under containment from start to finish.
- Verification. Before-and-after photos of your own ducts show what was removed and how the surfaces look after cleaning. You see the work, not a claim about it.
- Optional sanitizing and repair recommendations. If the assessment found signs of microbial growth, an antimicrobial or air-sanitizing treatment is offered. If it found leaks, loose joints, or liner damage, duct repair and sealing is recommended as a separate scope, since cleaning alone won’t fix a system that’s losing air.
The whole thing runs as one coordinated process, with a written scope and a fixed price agreed before work starts. If a system also needs dryer vent cleaning or a repair, we can handle it in the same visit rather than sending you to a second contractor. That matters in a Long Island City building where coordinating multiple trades is its own headache.
How to Decide: A Simple Decision Framework
If you’re still on the fence, here’s a framework. Start with what you’re trying to accomplish, then match the tool to the job.
Choose DIY if:
- Your visible registers and grilles are dusty and need a wipe-down
- You’re keeping up with filter changes and want a simple routine
- You want to do a general visual inspection and have no signs of a bigger problem
- You’re happy to leave the inside of the system to professional handling
Choose professional cleaning if:
- You notice musty odors when the system runs
- Airflow is uneven between rooms, or some rooms never get comfortable
- Allergy or respiratory symptoms flare up indoors
- You’ve had recent renovation, drywall work, or pest activity
- The system hasn’t been serviced in years, and you’re not sure it ever has
- You live in a multi-unit Long Island City building with shared ducts
- You want sanitizing or a duct inspection that goes beyond the visible surface
The clearest signal is that the problems above aren’t solved by wiping a grille. When you have a smell, an airflow problem, or a health concern, the cause is inside the system, and that’s where professional equipment reaches and DIY doesn’t. Air Duct Cleaning Long Island City offers free estimates in Long Island City, call (833) 918-5344, and you’ll know exactly what the job involves and what it costs before you decide.
Common Mistakes to Avoid
- Confusing register cleaning with duct cleaning. A wiped grille looks clean because it is clean, on the outside. The dust that matters most is inside the duct run, and no cloth reaches it. Show yourself the difference by shining a flashlight into the duct beyond the register.
- Renting a shop vac and calling it duct cleaning. Shop vacs can’t pull the CFM professional systems do, and their suction collapses once the hose is threaded through a duct. Using one on a duct run mostly relocates debris rather than removing it.
- Agitating visible mold without containment. Mold in a duct is a containment problem before it’s a cleaning problem. Loosening it without HEPA-level negative pressure spreads spores through the supply system. That’s a job to hand off.
- Pushing a stiff brush down insulated flex duct. The liner is fragile, and older Long Island City buildings often have flex runs or internal insulation that tears easily. A torn liner means repair work that costs more than the cleaning would have.
- Skipping filter changes, then deep-cleaning to compensate. A loaded filter strains the system and reduces air quality far more than a dusty register does. Filters are cheap and simple, and skipping them makes everything else harder.
- Ignoring a musty smell because the registers look clean. Smells come from inside the system, usually from dampness or microbial growth in a duct run. If the smell persists after a filter change, that’s your cue to have it inspected.
- Assuming a cheap quote means the whole system gets cleaned. Some low quotes cover only visible vents or a portion of the system. Ask what’s actually included and whether the quote is a flat price for the full system before you compare numbers.
When to Call a Professional
Call a professional when the problem is inside the system, not on the surface of it. Specific signals worth acting on: a musty or stale smell that returns after a filter change, uneven airflow between rooms, allergy or respiratory flare-ups that seem tied to the indoor environment, recent renovation or drywall dust that’s likely settled in the ducts, signs of pest activity, or a system that’s gone years without attention. In a multi-unit Long Island City building with shared ducts, call sooner rather than later, because a problem in your run can affect neighbors. And if you’ve tried a DIY pass and noticed a new smell or weaker airflow afterward, that’s a sign the debris didn’t leave the system. Air Duct Cleaning Long Island City offers free estimates in Long Island City, call (833) 918-5344 for one, and you’ll get a written price for the whole system before any work starts.
Frequently Asked Questions
No, a shop vac can’t clean air ducts. It can clean register covers and the first few inches of visible duct, but it can’t generate the 150+ CFM of negative pressure that professional equipment uses to extract debris from the full duct system. What a shop vac mostly does is loosen dust and move it around inside a closed system, sometimes pushing it deeper into the trunk line. Call (833) 918-5344 for an exact quote on a professional job, estimates are free.
Cheap quotes usually cover less than a full job: visible vents only, a portion of the system, or a quick pass with consumer-grade equipment that doesn’t include HEPA containment or verification. The work isn’t the same, so the price isn’t comparable. Ask what the quote includes, whether the price is flat for the whole system, and whether before-and-after photos will be provided. Call (833) 918-5344 for a free estimate that spells this out, and the written estimate sets the final price.
There’s no single schedule that fits every home. A typical household with no specific concerns can go several years between cleanings with good filter maintenance. Homes with pets, recent renovation, allergy concerns, or a musty smell should be assessed sooner. In a multi-unit Long Island City building, shared duct runs may justify a shorter interval. Call (833) 918-5344 to talk through your situation, estimates are free.
Ask for before-and-after photos of your own ducts, not stock images. Photos show what was removed and how the interior surfaces look afterward, which is the clearest way to verify the work. A professional job also includes containment and a written scope, so you know what was covered. Call (833) 918-5344 for a free estimate and ask what verification you’ll receive.
No, DIY cleaning is not safe in a system with mold. Agitating mold without HEPA containment disperses spores through the supply ducts and into living spaces, making the problem worse. Mold in a duct should be addressed by a technician who sets containment first and can follow up with sanitizing where appropriate. Call (833) 918-5344 for an assessment, estimates are free.
Often, yes. Long Island City’s dense multi-unit buildings frequently have shared trunk sections and older ducts or flexible liners that require careful handling. Contamination in one unit’s ducts can affect a neighbor’s ventilation, which makes proper containment more important than it would be in a standalone house. Duct material and system layout also vary more widely here. Call (833) 918-5344 to discuss your building, the estimate is free.
The Bottom Line
The DIY-versus-professional question for air duct cleaning comes down to what each side can actually do. DIY cleans registers and grille covers, and that’s useful as routine upkeep. It cannot clean the duct system itself, because consumer tools don’t produce the negative pressure source removal requires. Professional cleaning uses systems like Rotobrush and Nikro to agitate and extract under HEPA containment, then shows you before-and-after photos of your own ducts. For a Long Island City home, especially in a multi-unit building with older duct materials, that equipment matters more than it would in a suburb. Call (833) 918-5344 for a free estimate. We answer 24/7. Fast dispatch from 7am to 7pm, Sunday through Friday. One flat price per system, agreed before work starts.
For a closer look at the individual services involved, start with air duct cleaning in Long Island City, then see what dryer vent cleaning and HVAC cleaning add to a full indoor-air-quality plan. Our technicians have up to 9 years of experience with professional-grade Rotobrush and Nikro equipment, and the local pro is licensed and insured as their state requires.
Written by the team at Air Duct Cleaning Long Island City.
See the difference
 Before
 After
 Before
 After
 Before
 After